|
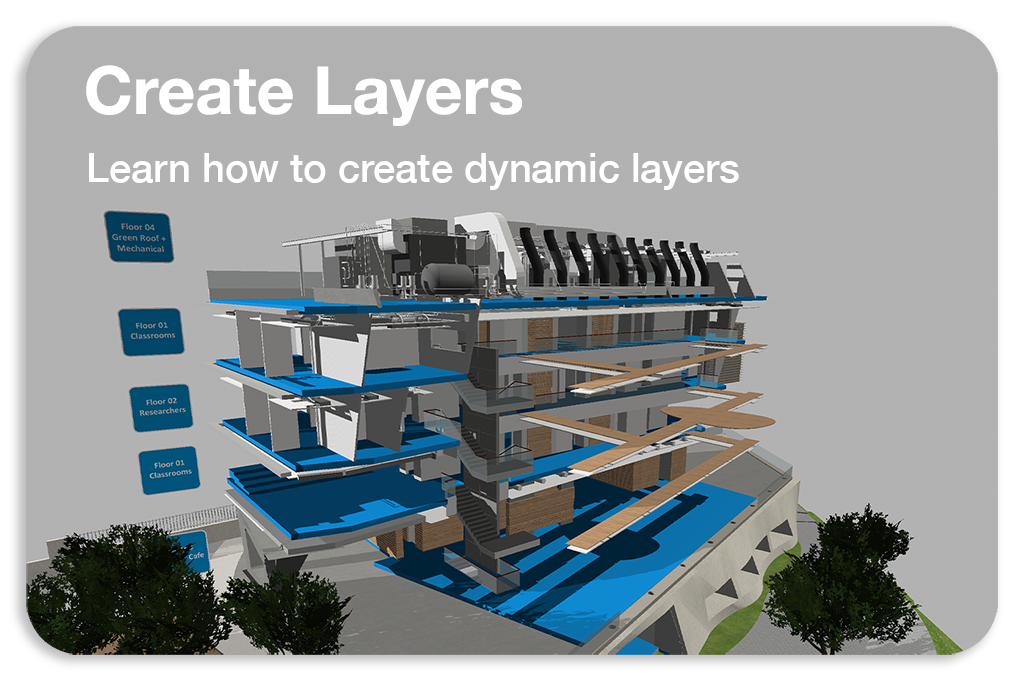
The following Tutorial helps you create Interactive presentations using the layer feature. Layers are used to visualise the model with simple toggles. Layers can be created in 2 ways: 1: ARkilayerCreate automatic layers by importing meshes with ARkilayer names From ARki 7.0 you can create automatic layers directly from your 3d software by adding "Arkilayer", followed by the number of the layer, to your meshes. Example: Arkilayer01, arkilayer02 The number dictates how the layers are organised in the app, starting with 01 as the top layer. Arkilayer gives you full control over how layers are setup within your 3d software. How to Create ARkilayer system from 3dsmax3DSMAX Tutorial Steps for Arkilayer below: 1.Add the 3d model you want to augment in the scene. 2.Create a dummy and name it Arkilayer01 3.Parent the 3d model to the Arkilayer01 dummy. 4.Position the 3d model accurately in relation to the plane mesh 5.If you have multiple layers repeat the process for every layer 6:Number each dummy in the order you want them to show up in the app. 7:Make sure you have every model parented to a dummy with the correct arkilayer number 8:Export the FBX, make sure you have embedded media switched on. 9:Helpful tip, optimise each texture in the model below 2mb, and 2048 x 2048 pixels. Download example file
How to Create ARkilayer system from MayaMaya Tutorial Steps for Arkilayer below: 1.Add the 3d model you want to augment in the scene. 2.Create a locator and name it Arkilayer01 3.Parent the 3d model to the Arkilayer01 locator. 4.If you have multiple layers repeat the process for every layer 5:Number each locator in the order you want them to show up in the app. 6.Make sure you have every model parented to a locator with the correct arkilayer number 7.Export the FBX, make sure you have embedded textures switched on. 8.Helpful tip, optimise each texture in the model below 2mb, and 2048 x 2048 pixel Download example file below
How to Create ARkilayer system from BlenderBlender Tutorial Steps for Arkilayer below: 1.Add the 3d model you want to augment in the scene 2.Name the model Arkilayer01 3.Repeat the process for every layer 4.Number each model in the order you want them to show up in the app 5.Make sure you have every model with the correct Arkilayer number (arkilayer01, arkilayer02….) 6.Export the FBX, make sure you set Path mode to copy 7.helpful tip, optimise each texture in the model below 2mb, and 2048 x 2048 pixels. Download example file below
How to Create ARkilayer system from RhinoRhino Tutorial Steps for Arkilayer below: 1.Add the 3d model you want to augment in the scene 2.Name the model ArkiLayer01 3.Add a layer named Arkilayer0, and add the model in it. 4.If you have multiple layers repeat the process for every layer 5.Number each model and layer in the order you want them to show up in the app 6.Make sure every model has the correct Arkilayer number 7.Export the FBX 8.Helpful tip, optimise each texture in the model below 2mb, and 2048 x 2048 pixel Download example file below
How to Create ARkilayer system from SketchupSketchup Tutorial Steps for Arkilayer below: 1.Add the 3d model you want to augment in the scene 2.Make the model into a component 3.Name the component ArkiLayer01 4.Name the instance ArkiLayer01 as well 5.If you have multiple layers repeat the process for every layer 6.Number each arkilayer component in the order you want them to show up in the app 7.Position the models accurately in relation to one another 8.Make sure you have every component with the correct Arkilayer number 9.Export FBX 10. Archive the model and texture into a zip file. 11.Helpful tip, optimise each texture in the model below 2mb, and 2048 x 2048 pixel Download example file below
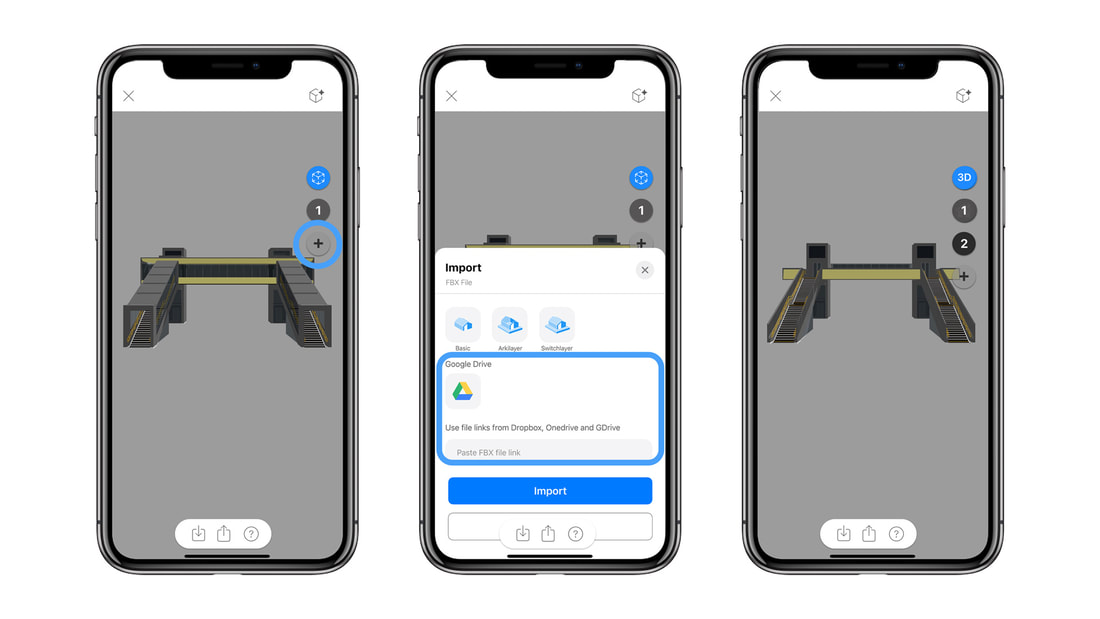
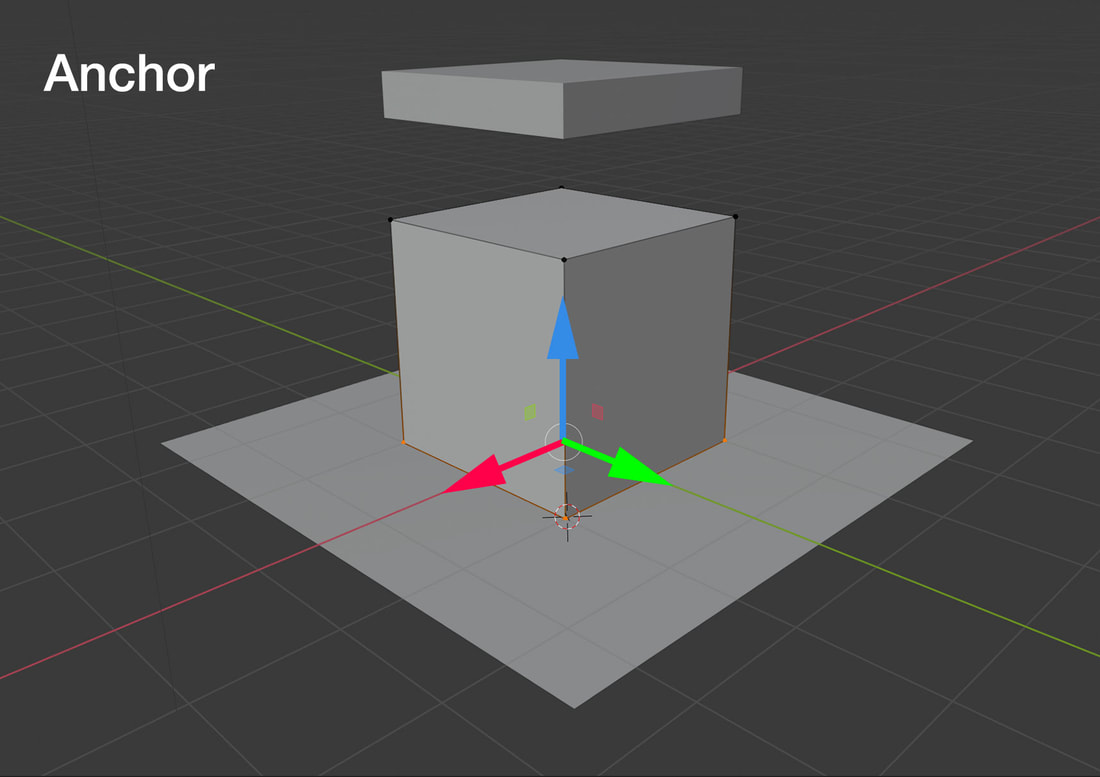
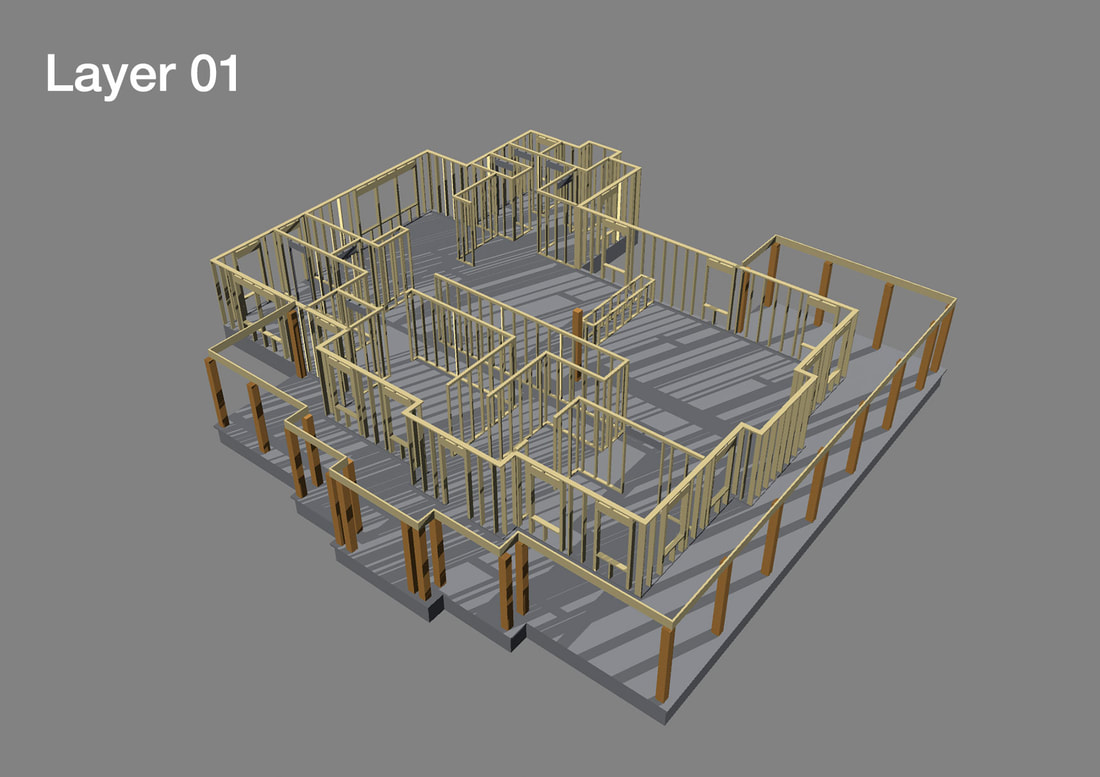
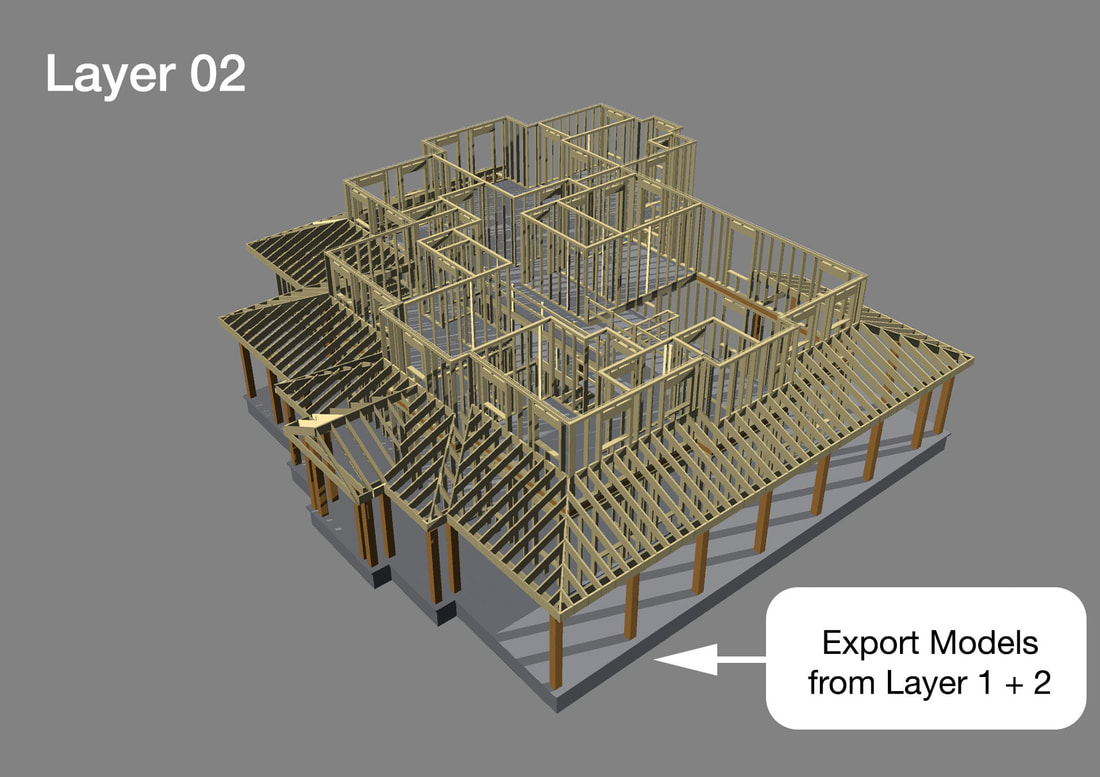
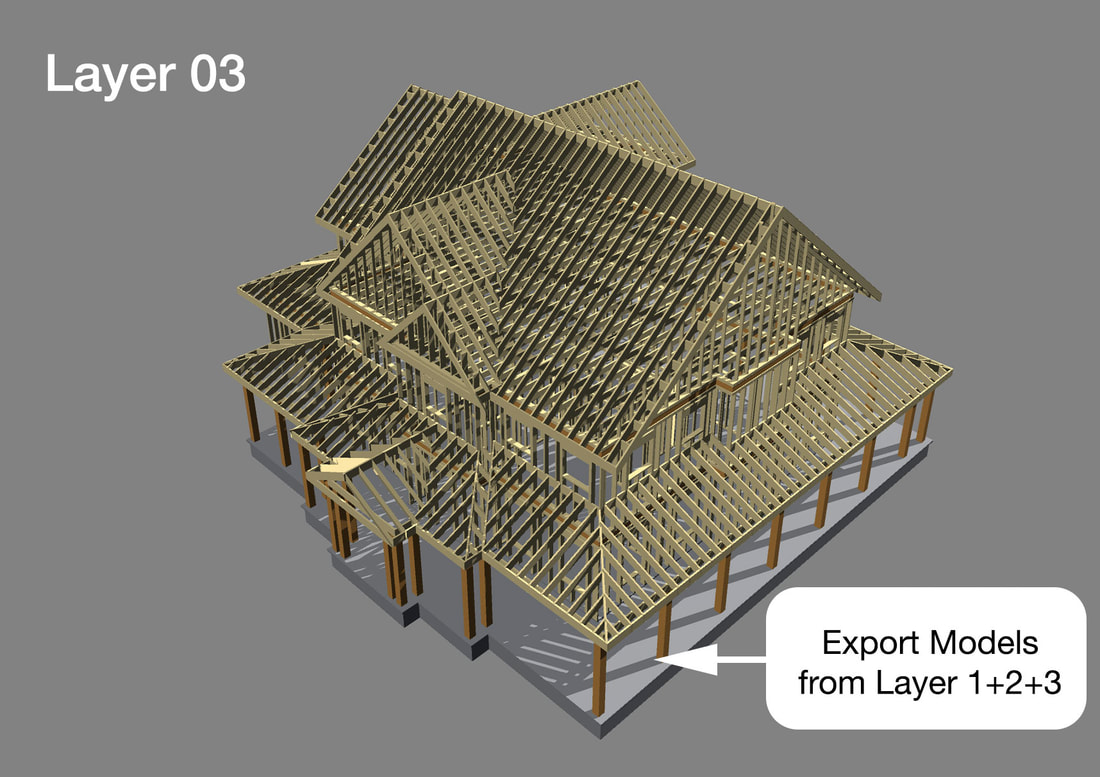
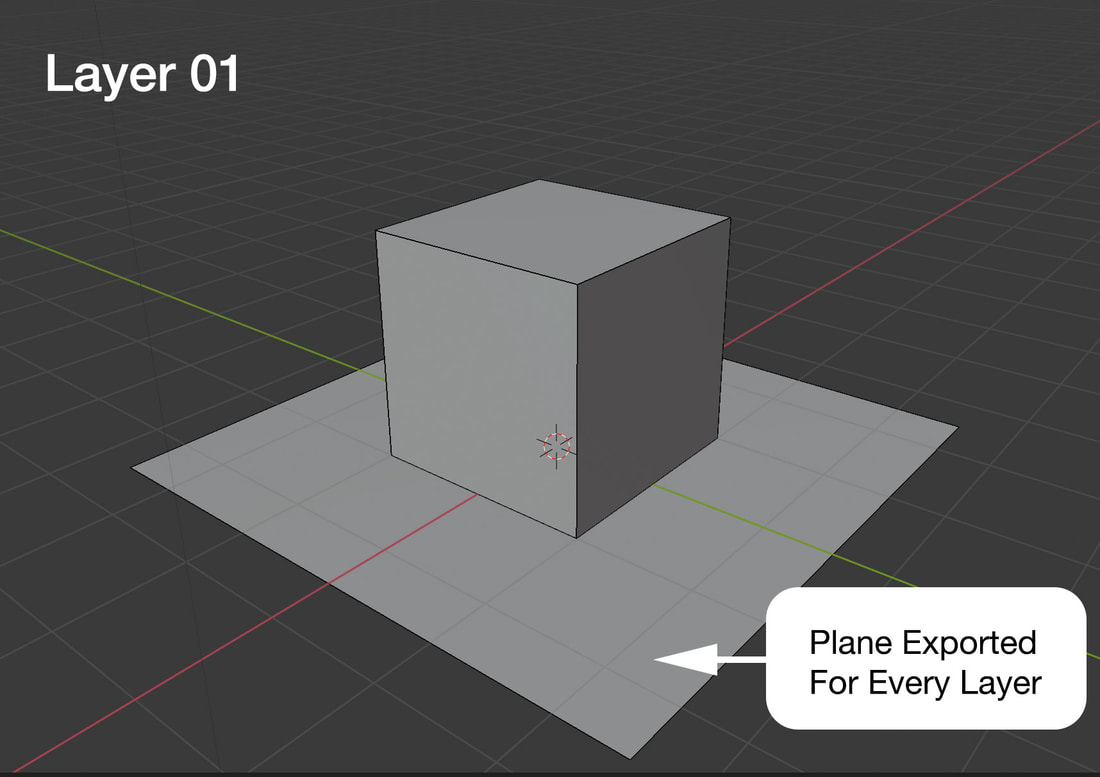
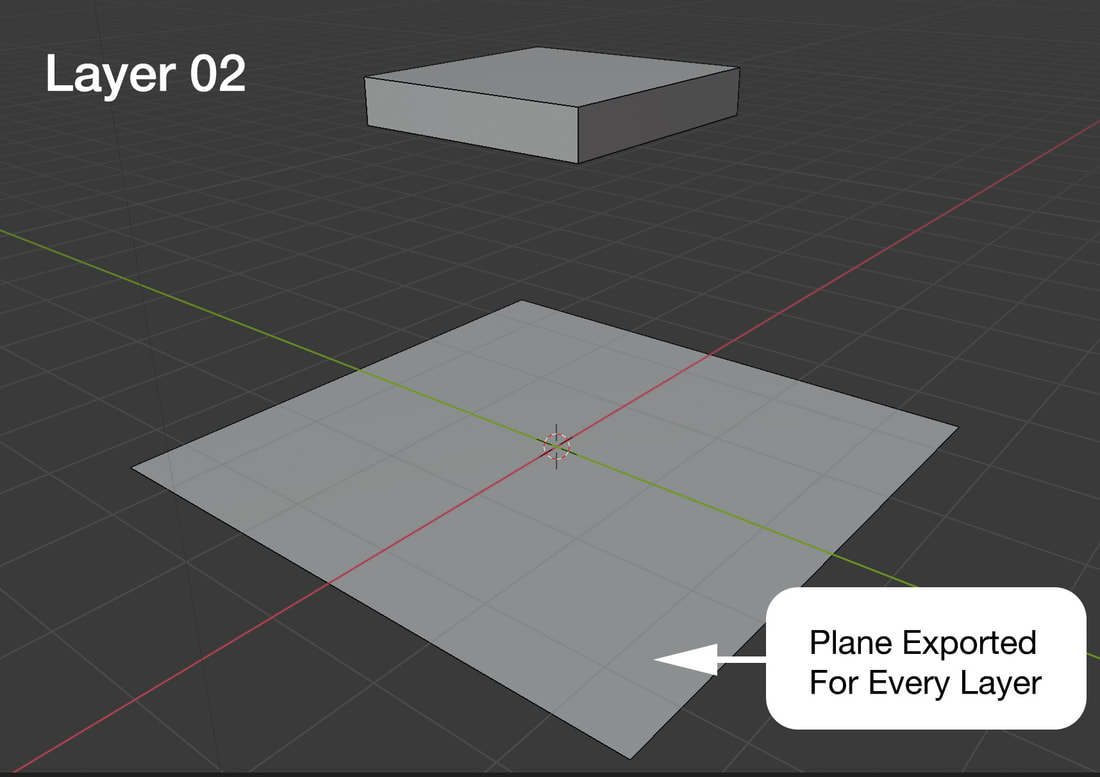
2: Manual Layer ImportImport individual layers as separate fbx files You can create layers manually inside ARki by importing multiple FBX files. Tips below on how to setup models for manual layers. Importing layersThe augmented reality system in the app is setup so that 3d models are always positioned on top of the AR horizontal planes, detected in the physical world. For this reason, the anchor of each model (XYZ axis) is re-positioned to the bottom of the 3d model, and each transformation in AR, such as scale, rotation and position is calculated from this new anchor point. Each layer is also calculated in the same way, to ensure that every model is positioned directly on-top of AR planes. Layer VisibilityThe layer feature allows you to import multiple models, which can be used to visualise the different parts of a 3d design project. Each layer is imported as an individual model, and layers are only viewed one at a time, to prevent slow performance issues which may occur due to too many vertices in the scene. For the best real-time performance, separate the project into individual layers, and export each part of the model as an individual FBX file. This way you can create dynamic visualisations that depict simple toggles, whilst improving the mobile performance, by not overloading the AR scene with too many vertices. If you want to show the build-up of a system, such as the example below which is showing the construction sequence of a project, export each layer as a combined sequence, showing every visible model, for each layer. *2020 Update will include Additive Layers that allow you to switch on/off multiple layers at a time, whilst tracking mobile performance. Aligning 3d Layers Aligning 3d layers is an important feature if you want to show the visual relationship between 3d models. The current system re-organises the anchor points of each model, for accurate placement in AR, as explained above. However if you want to create consistent relationship in XYZ position between project Layers, it is important to export each 3d Layer with a shareable mesh or plane, that retains the relationship between layers. The images below show how each layer of the project is exported to include the ground plane, which allows the layers to retain their relationship by having a shared bounding mesh. *2020 Update will include Dynamic Anchor positions which will allow you to choose which anchor position you want to use for the imported layers.
3 Comments
Constantine Ronquillo
23/5/2020 09:32:58 pm
I was wondering how you were able to integrate text labels on one of your demo sample? Thanks
Reply
Arta
25/6/2020 10:16:12 pm
The text labels will be coming to the pro toolkit soon.
Reply
Alexander Karastoyanov
14/2/2024 11:52:13 am
Hello. We have just subscribed to the pro version and checking out the app. Is the additive mode working at this moment, because it would really be useful for our workflow ? Thanks. Leave a Reply. |
|
||||||||||||||||||||||||||||||
Want more Information?
Our TeamAbout
|
HelpTutorials
|
LegalTerms of Use
|
All works © Darf Design 2020
Please do not reproduce without the expressed written consent of Darf Design
Please do not reproduce without the expressed written consent of Darf Design

