|
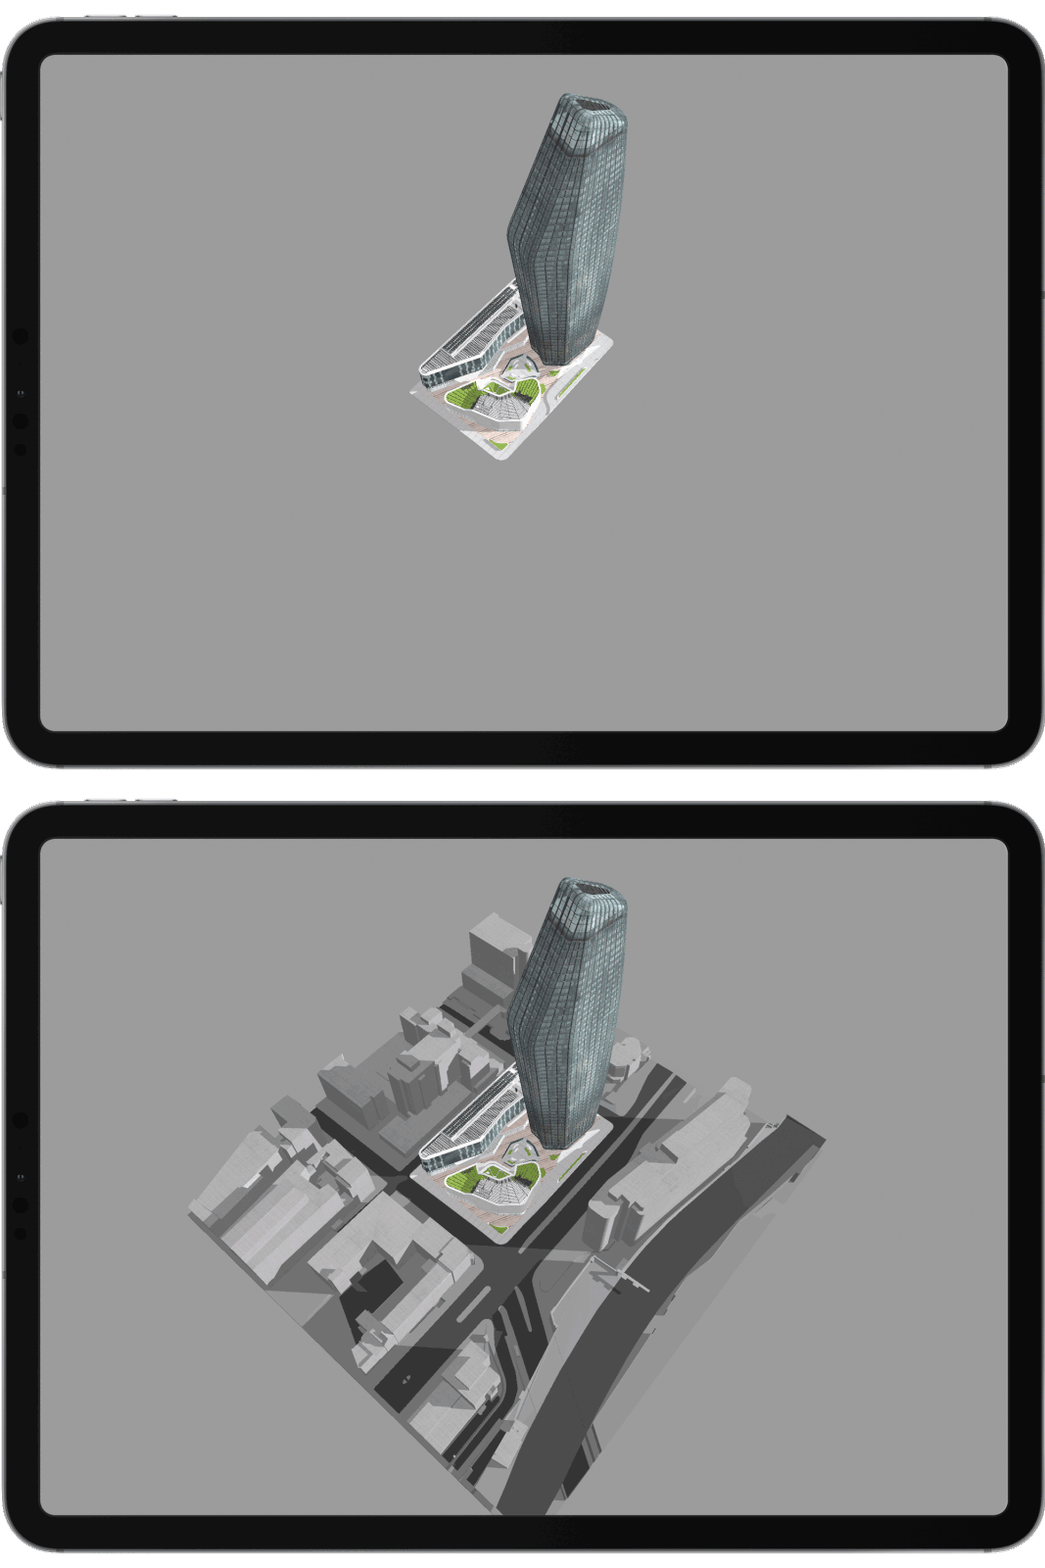
The following Tutorial helps you create interactive toggles that can switch layers on and off From ARki 7.0 you can create switch layers directly from your 3d software by adding “switchlayer”, followed by the number of the switchlayer, to your meshes. Example: switchlayer01, switchlayer02 The number dictates how the switch layers are organised in the app, starting with 01 as the top layer. Switchlayer gives you control over enabling or disabling certain parts of the model, such as the site model or the external facade of the building. Unlike arkilayers, which display one at a time when pressed, switchlayer models can be enabled on/off even if you have an arkilayer enabled in the scene. How to create switchlayer from 3DSMAX3DSMAX Tutorial Steps for Switchlayer below: 1.Add the 3d model you want to augment in the scene2.Create a dummy and name it Arkilayer01 3.Parent the 3d model to the Arkilayer01 dummy 4.If you have multiple layers, repeat the process for every layer 5.Number each dummy in the order you want them to show up in the app 6.Add the 3d model you want to use as a Switchlayer 7.Create a dummy and name it Switchlayer01 8.Parent the 3d model to the Switchlayer01 dummy 9.Position the models accurately in relation to one another 10.Make sure you have every model parented to a dummy with the correct Arkilayer number 11.Export the FBX, make sure you have Embed Media selected. 12.Helpful tip, optimise each texture in the model below 2mb, and 2048 pixels Download example file below
How to create switchlayer from MayaMaya Tutorial Steps for Switchlayer below: 1.Add the 3d model you want to augment in the scene. 2.Create a locator and name it Arkilayer01 3.Parent the 3d model to the Arkilayer01 locator 4.If you have multiple layers, repeat the process for every layer 5.Number each locator in the order you want them to show up in the app 6.Add the 3d model you want to use as a Switchlayer 7.Create a locator and name it Switchlayer01 8.Parent the 3d model to the Switchlayer01 locator 9.Position the models accurately in relation to one another 10.Make sure you have every model parented to a locator with the correct Arkilayer number 11.Export the FBX, make sure you have embed media selected 12.Helpful tip, optimise each texture in the model below 2mb, and 2048 pixels Download example file below
How to create switchlayer from Blender Blender Tutorial Steps for Switchlayer below: 1.Add the 3d model you want to augment in the scene 2.Create an empty and name it Arkilayer01 3.Parent the 3d model to the Arkilayer01 empty 4.If you have multiple layers, repeat the process for every layer 5.Number each empty in the order you want them to show up in the app 6.Add the 3d model you want to use as a Switchlayer 7.Create an empty and name it Switchlayer01 8.Parent the 3d model to the Switchlayer01 empty 9.Position the models accurately in relation to one another 10.Make sure you have every model parented to an empty with the correct Arkilayer number 11.Export the FBX, make sure you set Path mode to copy 12.Helpful tip, optimise each texture in the model below 2mb, and 2048 pixels Download example file below
How to create switchlayer from RhinoRhino Tutorial Steps for Switchlayer below: 1.Add the 3d model you want to augment in the scene 2.Add a layer named Arkilayer01, and add the model inside it 3.If you have multiple layers, repeat the process for every layer 4.Number each model and layer in the order you want them to show up in the app 5.Add the 3d model you want to use as a Switchlayer 6.Add a layer named Switchlayer01, and add the model inside it 7.Position the models accurately in relation to one another 8.Make sure every model has the correct Arkilayer number 9.Export the FBX 10.Helpful tip, optimise each texture in the model below 2mb, and 2048 x 2048 pixel Download example file below
How to create switchlayer from Sketchup Sketchup Tutorial Steps for Switchlayer below: 1.Add the 3d model(component) you want to augment in the scene 2.Name the component ArkiLayer01 3.Name the instance ArkiLayer01 as well 4.If you have multiple layers repeat the process for every layer 5.Number each arkilayer component in the order you want them to show up in the app 6.Add the 3d model(component) you want to use as a Switchlayer 7.Name the component SwitchLayer01 8.Name the instance SwitchLayer01 as well 9.Position the models accurately in relation to one another 10.Make sure you have every component with the correct Arkilayer number 11.Export the FBX 12.Helpful tip, optimise each texture in the model below 2mb, and 2048 x 2048 pixel 13.Archive the model and texture into a zip file Download example file below
1 Comment
|
|
||||||||||||||||||||||||||||||
Want more Information?
Our TeamAbout
|
HelpTutorials
|
LegalTerms of Use
|
All works © Darf Design 2020
Please do not reproduce without the expressed written consent of Darf Design
Please do not reproduce without the expressed written consent of Darf Design


